We will create a Document, and a Process that will display your form. From the form, we will create a new shared Record instance.
Prerequisites
Before you can start working with form definitions, you will need to:
Run Designer.
Open the Modeling perspective.
Create a GO-BPMN project with a GO-BPMN module.
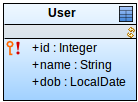
Create the data module with a Data Type definition: insert a shared Record with at least one Field into the definition.
Shared Record
Create the quickstart module and import the data module into it.
Remove the ui module from module imports.
Form
Important: Before you create your form, make sure you have removed the ui module import from your module. Having both, the ui module and the forms module, imported in a module could cause exceptions on forms in runtime.
To create the form, do the following:
Import the forms Module into your Module:
In the GO-BOMN Explorer, expand the Module and double-click its Module Imports node.
On the Imports tab of the Properties dialog, click Add.
In the Add New Import dialog, double-click the Standard Library > forms Module.
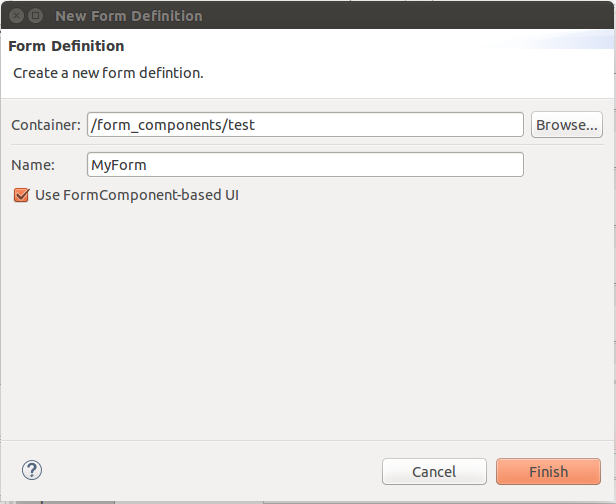
Create a Form Definition:
Right-click your Module > New > Form Definition
Enter the form name and select Use FormComponent-based UI
Creating a form definition
Click Finish.
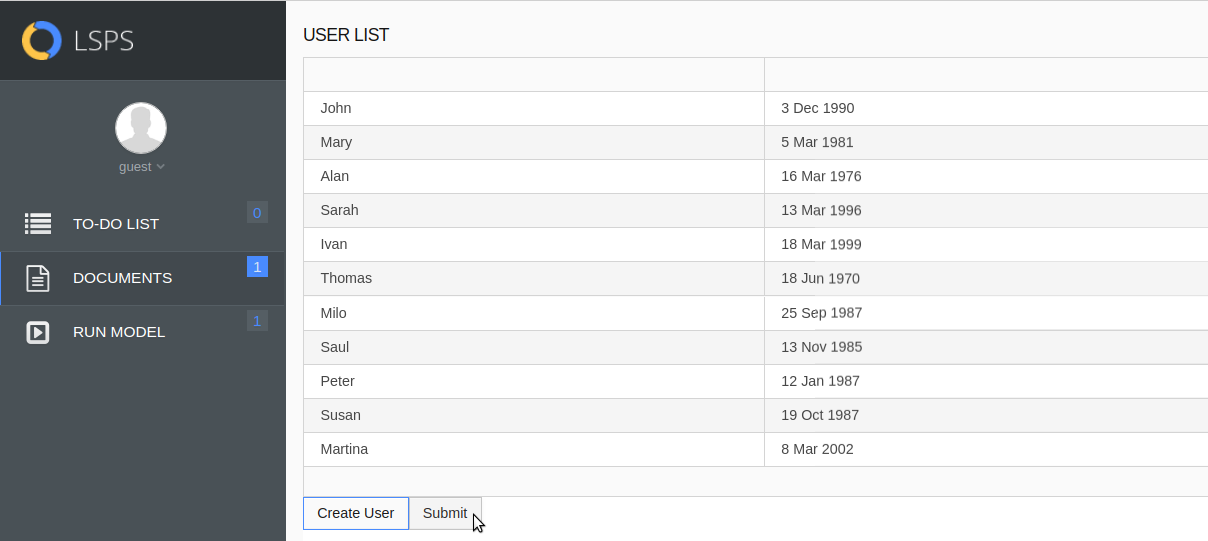
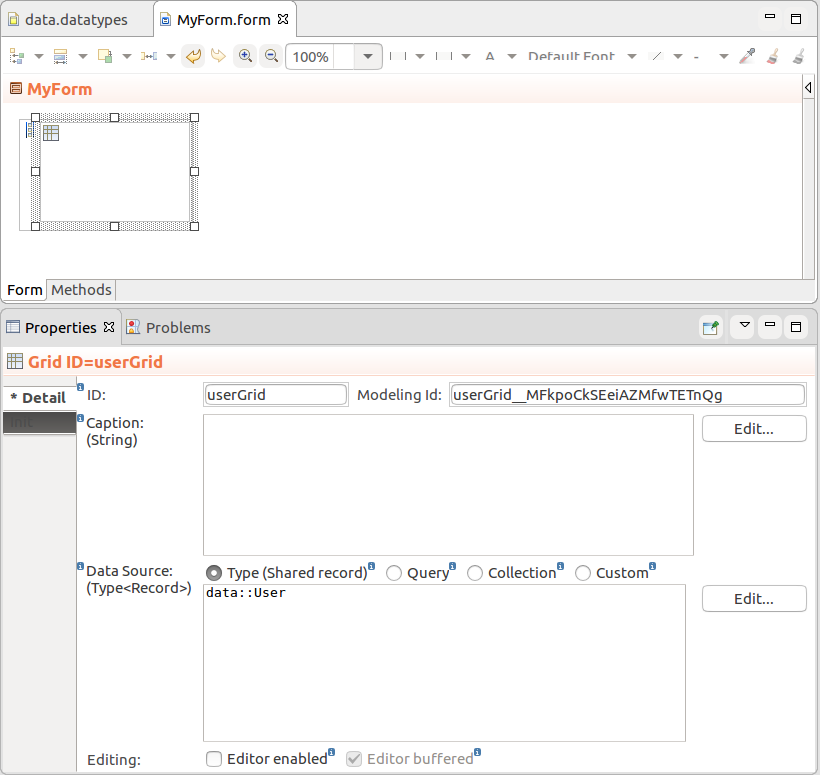
In the Form editor, create a grid that will display a list of users in a tabular manner:
Right-click the canvas, go to Insert Component > Container Components > Vertical Layout.
Right-click the Vertical Layout, go to Insert Component > Output Components > Grid.
Open the Properties view of the Grid and define the following:
ID unique within the form
data source as Type and insert the name of the shared Record so the table will use as its data source a list of all shared Records of the type.
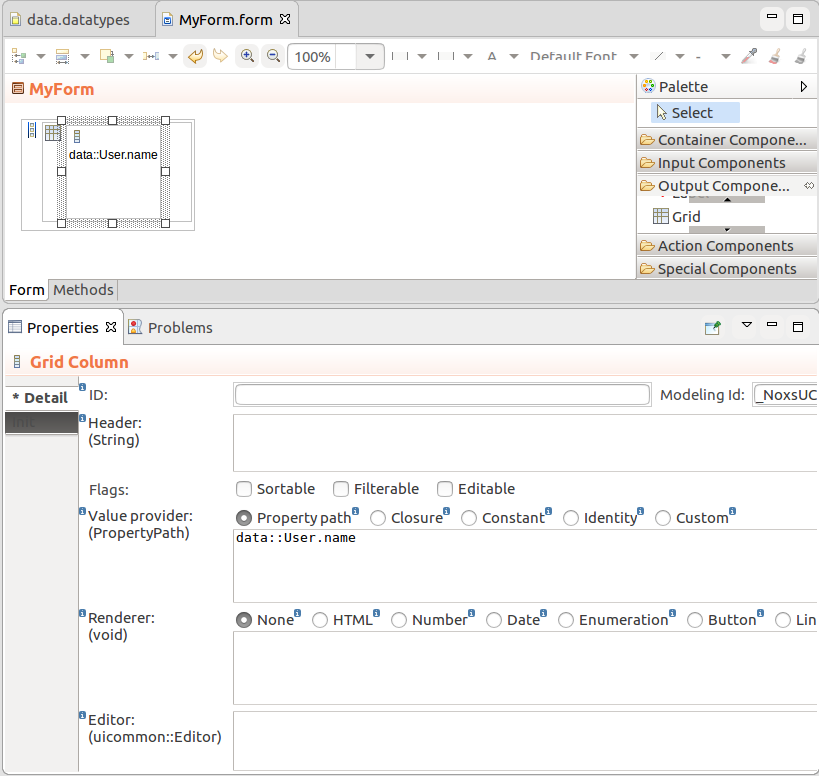
Create a Grid Column with the user name:
In the palette, click Grid Column and then click into the Grid.
In the Column's Property view, under Value Provider select Property path and enter the property path to the name below.
Column with record field
Create another Grid Column with the date of birth:
Insert another Grid Column into the Grid.
Set Value Provider to Property path with the value User.dob.
Set Renderer to LocalDate.
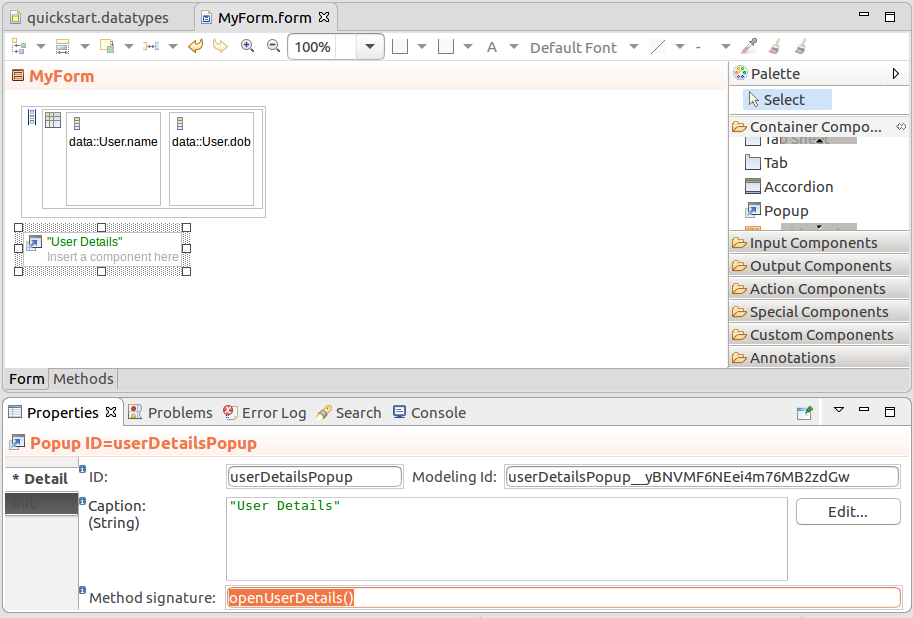
Create a popup for entering new user data:
Insert the Popup component from the Container Components palette section below the Grid.
Define its ID and Method signature for its factory call.
We will call the method as a button action to create and display the popup.
Popup
From the Outline view, create local variables on the popup:
variable for a record proxy set of type RecordProxySet with the initial value createProxySet(null)
variable for the proxy of the new user of type User with the initial value recProxySet.proxy(data::User)
Proxy sets with proxies exist "above" the records: this makes sure that the user data is not persisted before the user confirms that the user should be created. The aim of proxy sets and proxies is also to allow us to discard the user data without having to clean up any transient data (for further information, refer to the modeling guide).
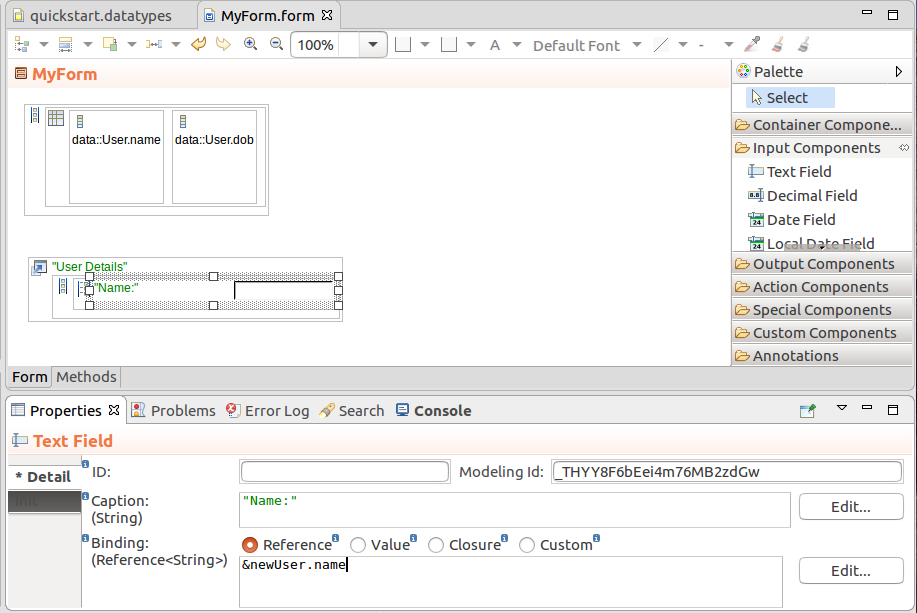
Design the popup content:
Insert a Vertical Layout into the Popup: select the Margin and Spacing options in its properties.
Insert a Form Layout into the Vertical Layout.
Insert a Text Field into the Form Layout with its binding set to Reference and its value to the name property of the user variable.
Text field with user name Binding
Insert a Local Date Field into the Form Layout with its binding set to Reference and its value to the dob property of the User object.
Insert the Create button and define the create logic as its click action:
The Proxy newUser object merges: a "proper" User object is created.
The table refreshes so that the new user appears in the table.
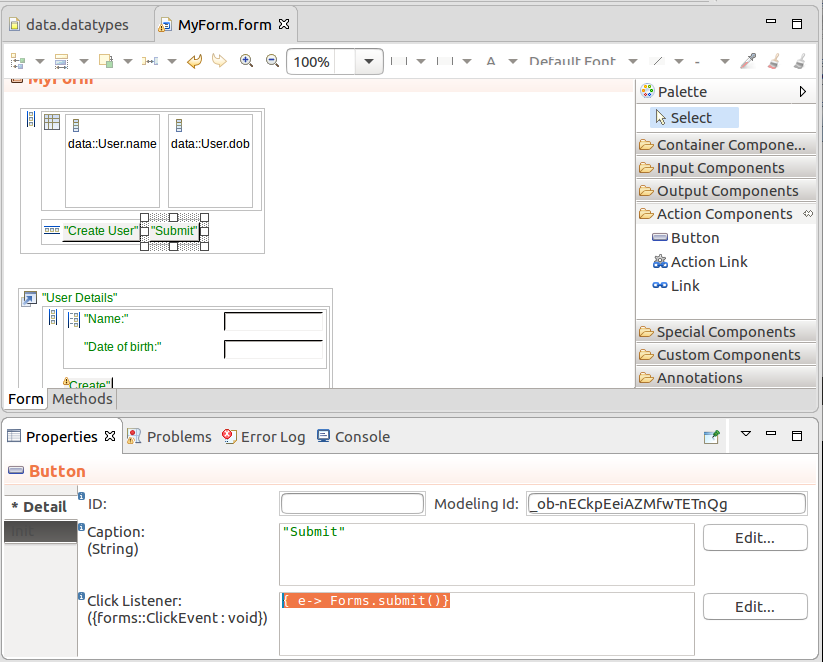
Below the Grid, create a button that will open the popup:
Insert a Button component under the Grid.
Define its Click Listener expression to open a popup: { click -> openUserDetails().show()}
Finally, we want to add the option to submit the form on button click: add a Button to the form and call { c -> Forms.submit()} from its click listener.
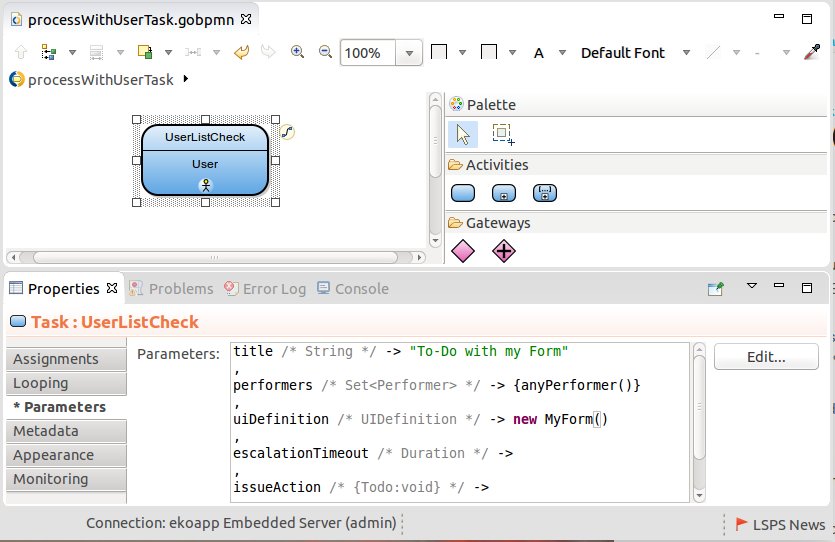
As we will demonstrate next, a form can be used by a User Task or a Document:
When used by a User Task, on submit the execution of the User Task finishes and the process execution continues.
When used by a Documents, the system navigates away: under the hood, the server creates a model instance whenever you open a document and finishes the instance when you submit the form.
Using the Form in a Document
To create a Document with your Form, do the following:
Create a document definition:
Right-click your Module > New > Document Definition; enter name and click Finish
In the document definition, click Add.
Define the document properties and its UI definition.
Document definition that will display our Form as its content
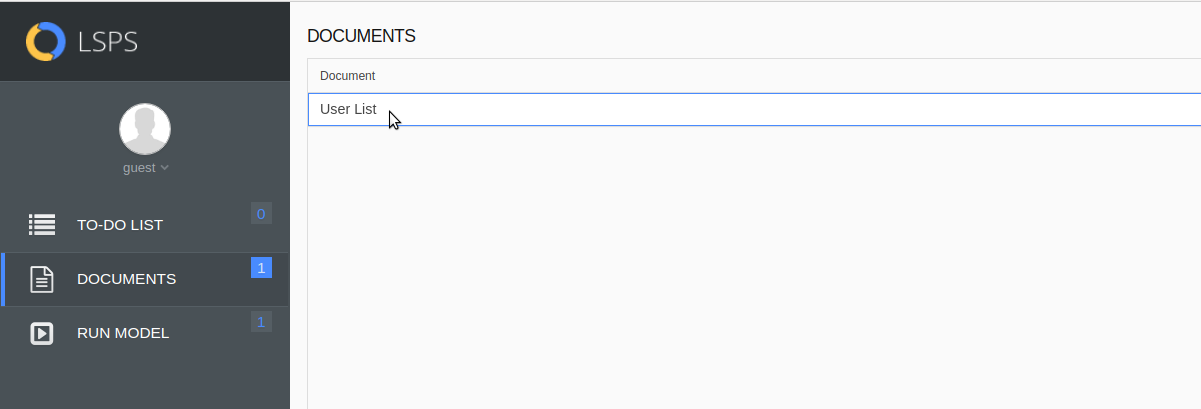
Open the document:
Make sure you are connected to an LSPS server or run the LSPS Embedded Server: go to Server Connections > LSPS Embedded Server > Start.
In GO-BPMN Explorer, right-click your Module, go to Upload As > Model.
 and then click into the Grid.