LSPS Documentation
Monitoring is based on a special type of assignment referred to as the monitoring assignment. The monitoring assignment is a type of assignment: it defines what and where is assigned. The involved data is considered monitoring data, the metrics, and is accessible to reports and dashboard widgets of the BAM application.
The monitoring data is uploaded as part of the model and then accessed by the reports and widgets with metric from the BAM Application Monitor.
Note: Process Design Suite uses the BIRT framework for reports and widgets (for further information refer to the respective BIRT documentation).
To define the data and their layout in the Business Activity Monitor, you need to do the following:
Note that example report designs are available: Go to File > New > Examples > Common Monitoring under Process Design Suite.
A report is a static visualization of the current business intelligence data in a specific layout. The data is loaded in the moment the report is visualized.
The layout and data sources can be defined in any of the supported business intelligence tools: A report may access data from LSPS as well as any other available external business data available in a database.
Note: To create a report that contains data that depend on the logged user, the report has to define the parameter currentUserLogin of the type String and set as hidden. When the report is invoked, the parameter is automatically filled with the login data of the person in the Business Activity Monitor.
To define a report, do the following:
Design file name: design file created in a business intelligence tool with the report layout
You can create a design file in the Report Design perspective, which is a standard BIRT perspective. For further information, refer to the BIRT documentation.
A widget is a dynamic visualization component of business intelligence data: Widgets are placed on dashboards of the Business Activity Monitor application. They define a specific layout filled with runtime data loaded on every refresh, manual or automatic. The widget layout and data sources can be defined in any of the support business intelligence tools.
Widget definitions are created in a widget definition file. One Module may contain multiple widget definitions.
To define a widget, do the following:
In the Widget Details area, define the widget attributes.
You can create a design file in the Report Design perspective, which is a standard BIRT perspective. For further information, refer to the BIRT documentation.
Note: To create a widget that depends on data about the logged-in user, define the parameter currentUserLogin of the type String on the widget definition and set as hidden. When the widget is displayed, the parameter is automatically filled with the login data of the person currently logged in the Business Activity Monitor.
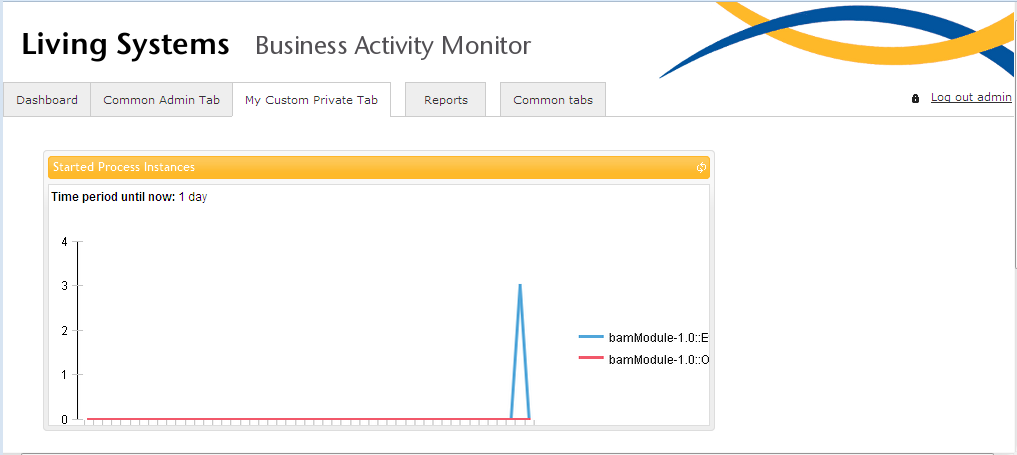
Business Activity Monitor is a web-based dashboard application for the visualization of reports and widgets with metrics. The application enables you to work with monitored data (KPIs) in real time.
It displays metrics in reports or widgets on a dashboard. Note that both reports and widgets are defined as model resources.
The web application is accessible from http://<LSPS_DOMAIN>/lsps-monitoring, when running on localhost http://localhost:8080/lsps-monitoring.
The Business Activity Monitor contains by default the following:
Note that you can delete the default private Dashboard tab and create an arbitrary number of private tabs. However, at least one dashboard tab must be available.
The Business Activity Monitor is locked by default to prevent accidental changes. To change the properties and content of dashboard tabs, click the Edit Dashboard button  to enable editing of all dashboard tabs.
To save any changes made to the particular dashboard tab, click the Save Dashboard Changes (  ) button. To revert all changes on the dashboard tab since unlocking, click the Revert Dashboard Changes button (
  ) button.
To lock the dashboard tab, click the Cancel Dashboard (  ) button.
The Business Activity Monitor dashboard is divided in tabs; each tab contains its set of widgets.
Depending on the accessibility of tabs, the application can contain two types of dashboard tabs:
Any user of the Business Activity Monitor can create their private tabs with custom widgets and tab properties. These tabs cannot be displayed by other users.
Before you can add or remove private tabs, unlock the dashboard for editing.
To add a private tab, click the Add New Dashboard Tab (+) next to the tabs labels. To remove a private tab, click the Delete ( ) in the label of the tab.
A common tab is a dashboard tab available to a set of users (for information on user management, refer to the chapter Persons in the Process Design Suite User Guide).
To be able to create common dashboards, you need to have the respective security rights.
A user with administration rights can create common tabs that are available in the Common Tabs of a group of users. Such a user must have the respective security role assigned.
To create a common tab, do the following:
Common tabs tab.You can manage and delete the common tabs on the Common tabs tab.
Display the tab by clicking its name in the Show hidden common tabs menu (  ) and insert the required widgets.
The logged-in user has the right to view one or more common tabs.
To hide and re-display a common tab, do the following:
) button in the tab label. ).To change the label of a displayed tab, make sure the dashboard is unlocked, click the tab label, enter the new name, and press Enter.
To rearrange the displayed tabs, drag-and-drop the tabs by the Drag to reorder dashboard tabs (  ) button.