LSPS Documentation
Persons represent users that interact with the system, such as, administrator, or participate in to-do execution, hence have access to the Application User Interface. Such persons require credentials, such as, name, login, etc., and a set of rights which define what they have access to in the application.
LSPS users are represented by persons with personal details and access rights to the application, which include security and modeled roles. Optionally they can define their substitutes, that is, persons who can act on their behalf (stand-ins) when the substitution is activated for the given person.
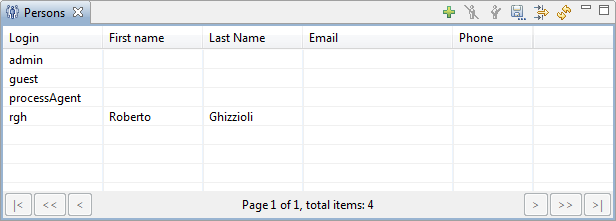
List of available Persons is displayed in the Persons view. By double-clicking a person entry in the Persons view, you can display the person detail view with the person's data and settings.
To export the person data into an csv file, do the following:
 .
.You can view and manage all the details on the Persons page.
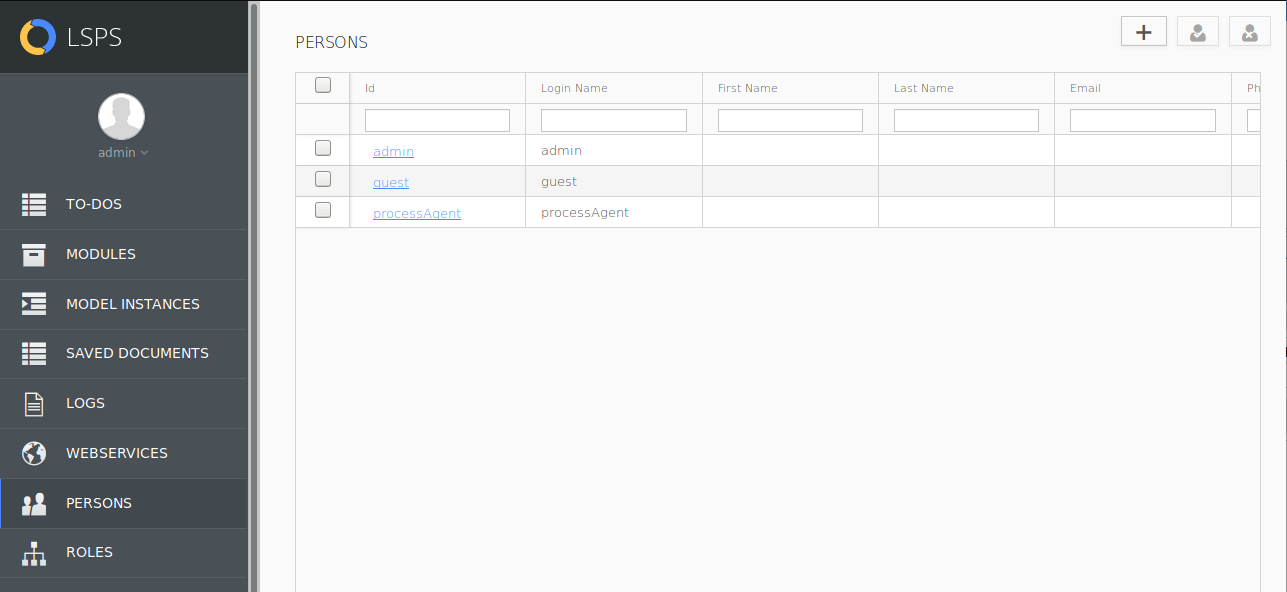
The Persons page is displayed.
To apply a filter, do the following:
In the filtering row of the table, define the filtering criteria.
Filtering is case-sensitive and supports wildcards (*, ?); for example, filtering Task? * returns results containing the word Task followed by any character, a space, and any subsequent characters.
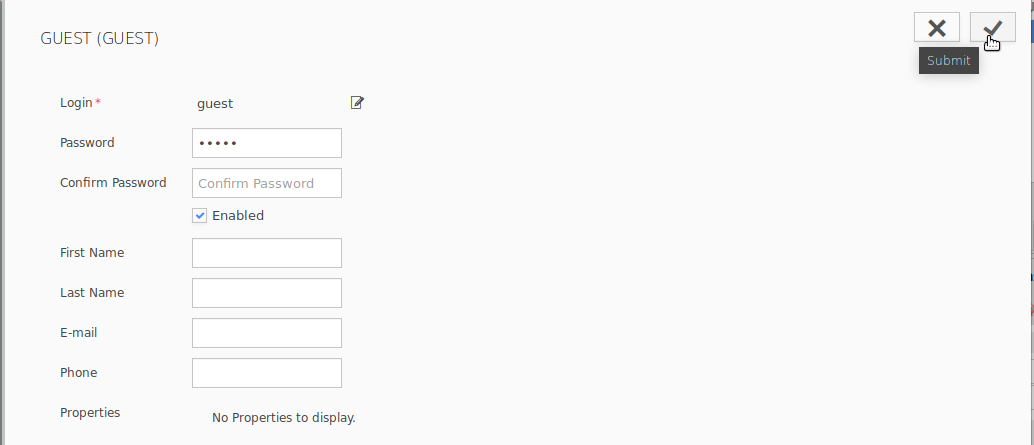
To create a new person, do the following:
 in the view menu.
 .
.
To create a new person, do the following:
 button in the view toolbar.
Select the modeled roles you wish to assign the person.
Assign a person at least one security role.
 in the view toolbar.
To edit a person's details in the Management perspective, do the following:
in the view toolbar.To edit a person's details in Management Console, do the following:
 in the upper-right corner. in the view toolbar.
updatePerson updates person's password
The server must be restarted to apply any password changes.
| Long Option | Short Option | Description |
|---|---|---|
--destination* | -d | host URL |
--username* | -u | user name |
--password* | -p | password |
--new-password* | -np | new password |
* required parameters
Once a person is created, it is not possible to remove them. Instead of removing a person from the system, you can disable them: A person that was disabled, cannot access the LSPS Server.
When persons are disabled, the following applies:
A disabled person can be recovered (enabled). However, none of the removed data is retrieved.
Note: The admin and processAgent cannot be disabled.
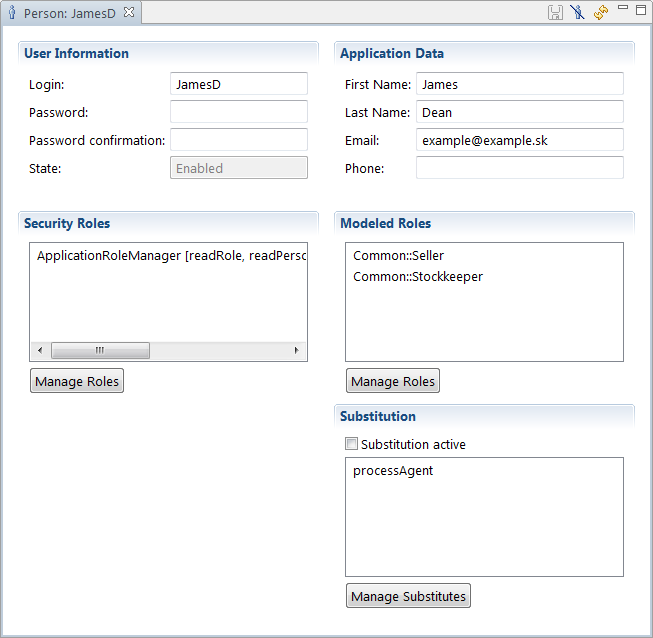
Information about person state is shown in the respective person detail view under the User Information area. In the Persons view, disabled persons are shown highlighted in red.
To enable or disable a person, do the following:
 ) or Enable (
  ).
).
To enable or disable a person, do the following:
Note: The admin and processAgent cannot be disabled.
Important: The built-in substitute mechanism is provided as a base for custom substitution mechanism.
The substitution mechanism serves to define stand-ins for persons: when activated any unlocked to-dos assigned to the user are assigned also to all their substitutes. The to-dos are displayed in the to-do lists of both the users and their substitutes.
Note: If a substitute lacks a modeled role required by the to-do, they cannot see the content of a to-do.
When substitution is deactivated, all to-dos listed in the substitute’s to-do list which were originally allocated to the substituted person and are not locked by the substitute are removed from the to-do list of the substitute and only displayed in the to-do list of the person.
Substitution is transitive: If a substitute has activated their substitution, the substitution also applies the to-dos assigned as a result of the previous substitution activation.
When substitution is deactivated, any unlocked to-dos listed in the substitute’s to-do list are removed; locked to-dos remain in the to-do list.
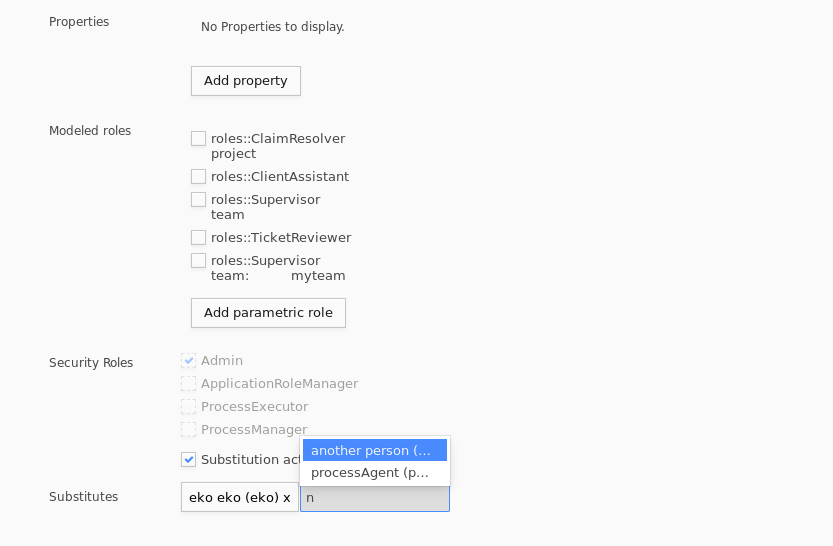
To define a person's substitutes, open the Person Detail view and in the Substitution section, click Manage Substitutes. In the pop-up define the substitutes.
Check if the Substitution is activated for the person.
The Substitution feature can be applied from the front-end application as well as from Designer. To activate or deactivate substitution on a person from Designer, open the Person Detail view and select or unselect the Substitution active option.
To define substitutes of a person, do the following:
button.Select the Modeled roles to assign a button.
Editable person detail appears.
*.You have defined substitutes for the particular person.
To activate or deactivate substitution, do the following:
.