
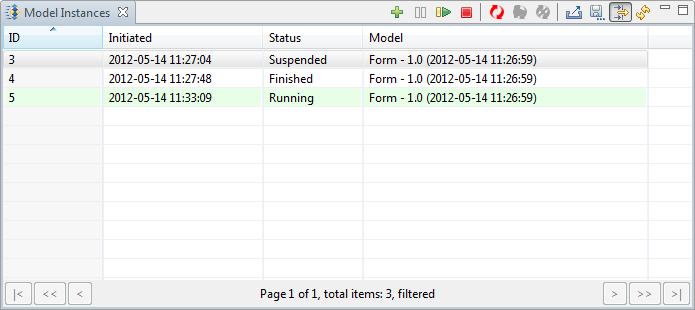
To work with Model instances on the LSPS Server, use the Model Instances view with the list of Model instances on the server. Using the buttons in the toolbar, you can do the following:
 a new model instance
 a model instance
 a suspended model instance
 a running or suspended model instance
 update a model instance based on a muc definition
 trigger the next model update phase
 of a model instance
 .
. to a CSV file
 the model instances list
 the view content
The action commands as well as additional actions are available also in the context menus of individual model instance entries:
To copy multiple model instances to the clipboard, select them and press Ctrl + C.
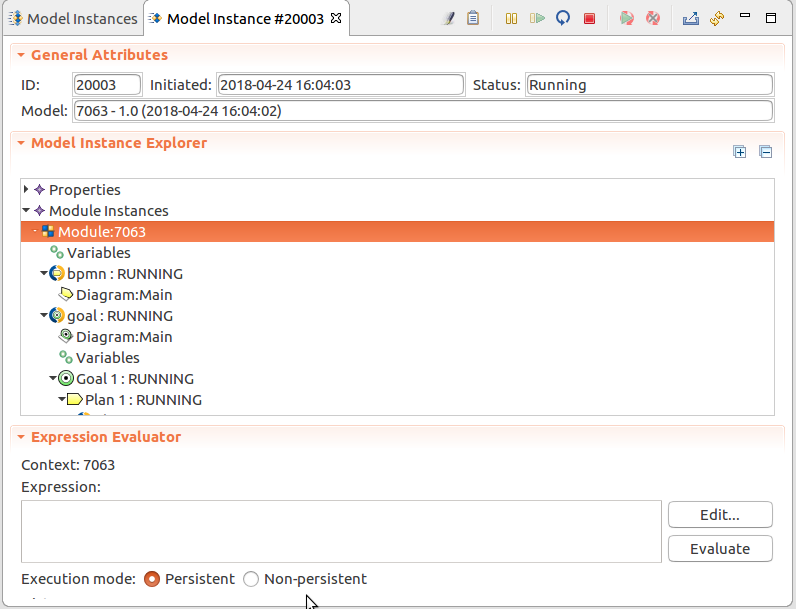
A model instance detail view contains the following details:
Status: current execution status
If the instance is Finished, the field contains the finish time and date.
Model Update History: details on the model update
The node is available only if the model instance went through the model-update process.
Using the buttons in the toolbar of the model detail, you can do the following:
 generated by the model instance (filter for the respective model instance ID is applied to the To-do List view and the view is focused).
 generated by the model instance (filter for the respective model instance ID is applied in the Logs view and the view is focused).
 and Resume (
  ) a model instance.
 a running or suspended model instance.
 a model instance based on a muc definition.
 trigger the next model update phase.
 of a model instance.
 a model instance into an XML.
 the view content.
To create a Model instance, do the following:
 button in the view toolbar.
The new model instance appears in the list of model instances.
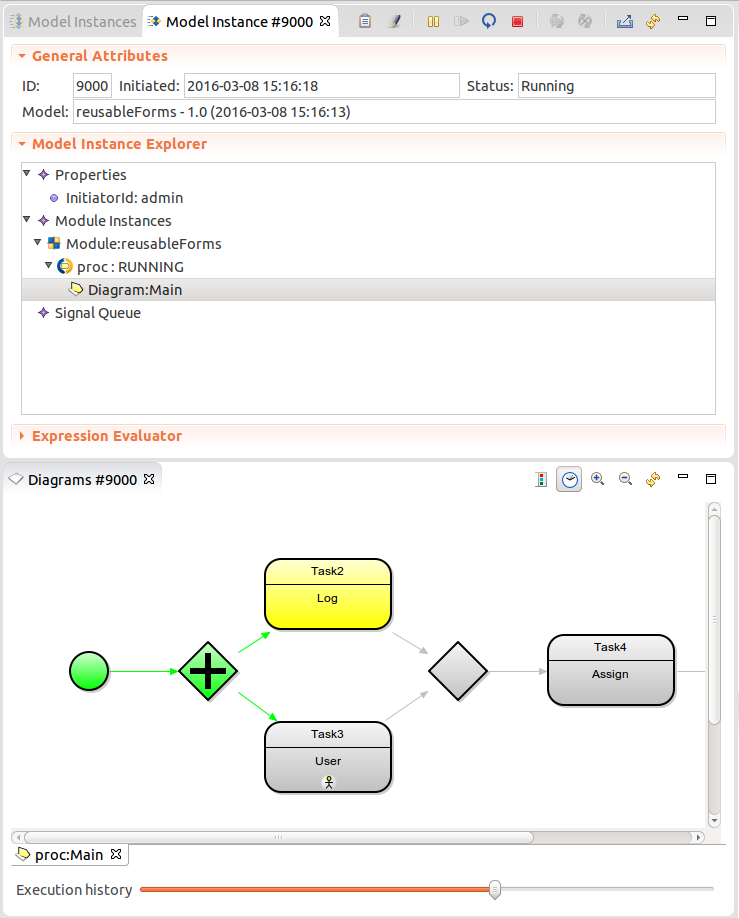
You can visualize the current status of Model instance resources in their live diagrams: Live diagrams are diagrams of Process resources as defined in their Model (process, goal, plan, or sub-process diagrams). Individual execution states are indicated by colors. Diagram legend can be displayed by clicking the legend button  in the view toolbar.
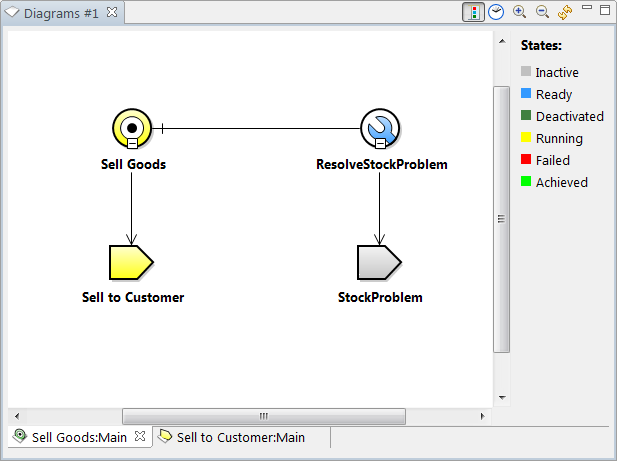
If several live diagrams of the same model instance are activated, they are opened in the same view stacked on each other.
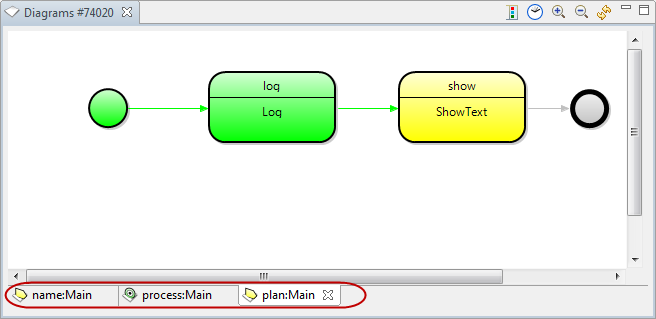
To visualize the history of the execution flow on the live diagram, click the History  button in the view toolbar: You can then use the slider at the bottom of the view to view the execution workflow.
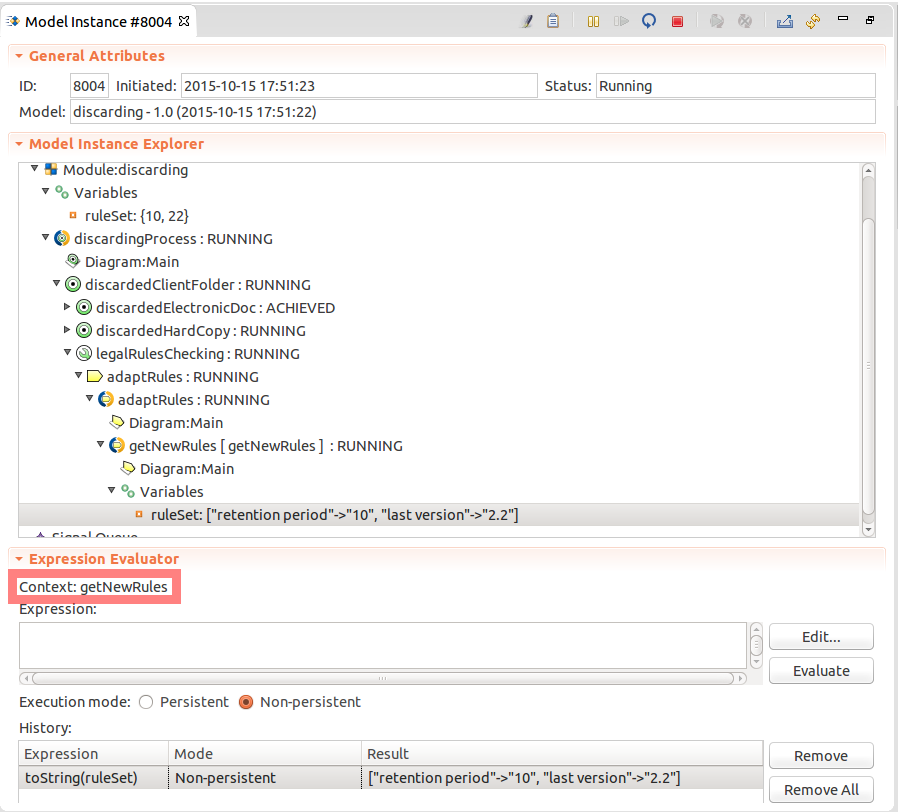
To evaluate expressions using the current context values of a Model instance, use the Expression Evaluator in the Model instance detail:
The context of the Expression Evaluator is set to the selected context: you can check the current context in the Expression Evaluator view.
The expressions can be executed in persistent or non-persistent mode:
Information on the selected context is displayed in the Expression Evaluator: this is by default the Model instance context. To change the context to a Module, Process, Sub-Process context, select the respective element in the Model instance tree.
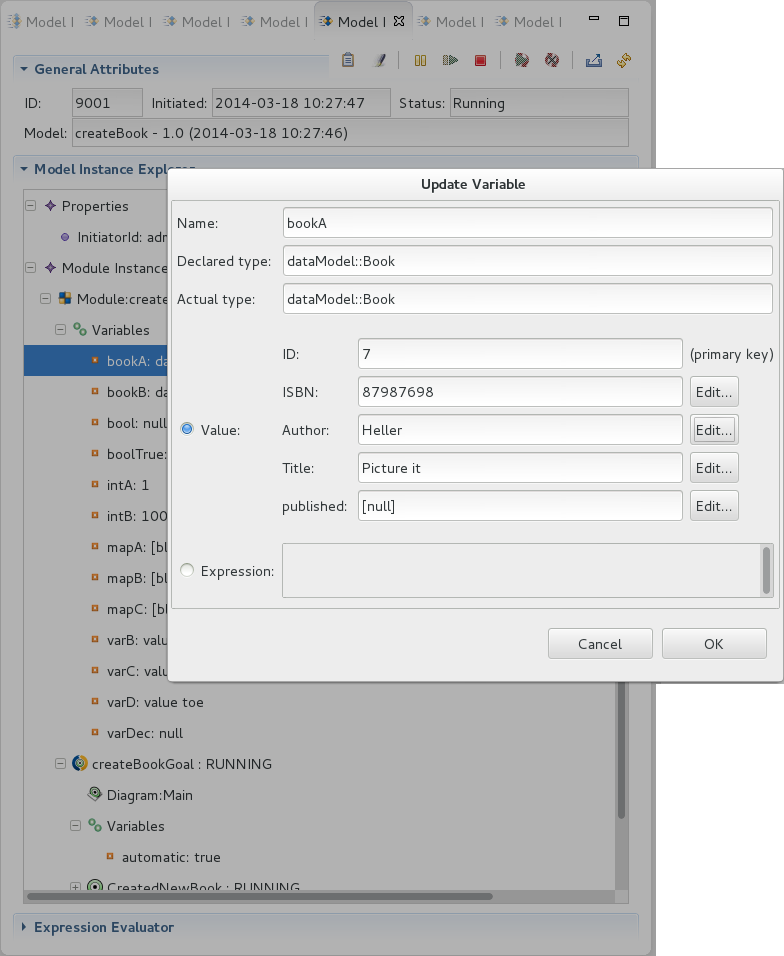
You can change values of variables during execution either from the Expression Evaluator using assignments or from the Model instance detail.
To change the value of a variable in a running model instance, do the following:
Note: Depending on the variable type (basic, record, collection, etc.), the Update Variable dialog box shows relevant buttons. For basic values, provide the desired value directly; make sure you follow the Expression Language rules. Collection and record values are edited recursively, that is, if you click Edit, there are gradually "split" in less complex values, until basic values are displayed.
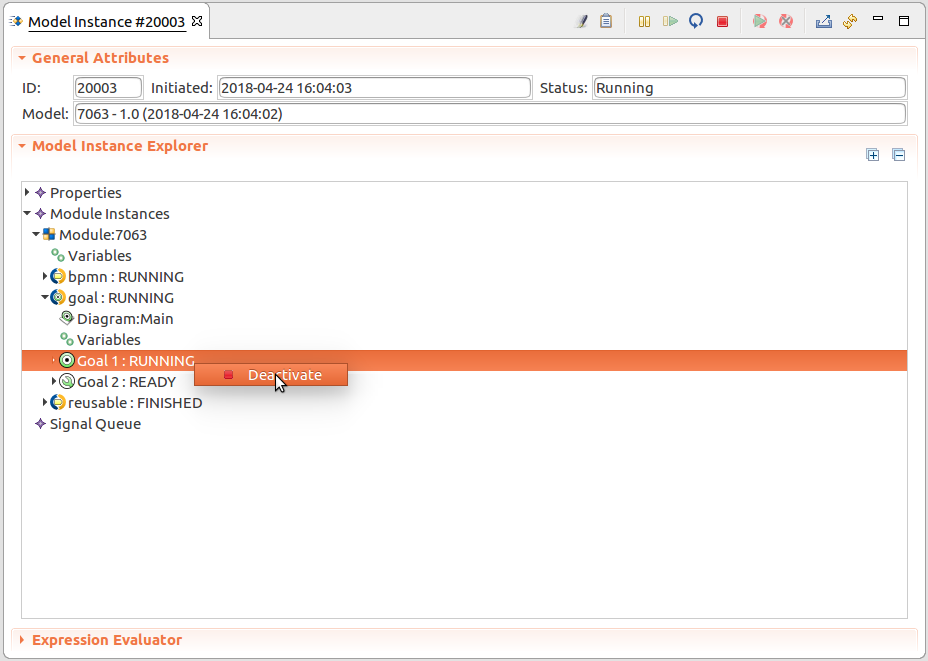
Changing execution states of Goals during execution can help you to direct the flow of the execution. Note that you can activate or reactivate only achieved, failed, deactivated or inactive goals, and deactivate only ready or running goals.
To deactivate or activate a Goal, do the following:
To suspend a running Model instance or resume a suspended Model instance, do the following:
 or Resume
  .
.On detailed behavior of Model instances, refer to GO-BPMN Model Language User Guide.
The command is available also in the context menu of individual model instances.
On invoke, a Model instance attempts to continue its execution: this feature is helpful if a Model instance remains in a state where it is waiting for an event which cannot occur, typically due to manual adjustments (for example, change on timer events or variable values), you can invoke the model instance to make the instance check if it can continue.
To invoke a model instance, go to Model Instances view, select the model instance and click the Invoke  button.
The Finish feature allows you to immediately terminate a Model instance.
To finish a running Model instance, do the following:
 . The command is available also in the context menu of individual model instances.
You can export Model instances as formatted XML files. Note that the XML file contains only information on the runtime status of the Model instance, not the underlying Model, and serves as an information source, for example, during Model update.
To export a model instance to an XML file, do the following:
In the view toolbar, click Export  .
.
The command is available also in the context menus of individual model instances in the Model Instances view.
If you want to modify runtime data of a model instance, you can do so directly in its raw XML. Such data includes values of variables, signals, etc. Note that if you modify data that is persisted in the database, the data remains unchanged.
To export a model-instance XML, do the following:
Important: Importing a corrupted model instance XML can cause that the system will fail to work with the data.