LSPS Documentation
You can export your Modules as follows:
To speed up export if you need to export the same resources repeatedly, define anExport Configuration file.
Frequent export configurations can be store in an export configuration file: it holds the list of workspace resources. It serves as input for export so you do not have to define the resources you want to export all over again.
Since they are not considered part of the Model, Export configurations can be located anywhere within a GO-BPMN project, that is, in a project, Module, or a generic folder.
To define an export configuration, do the following:
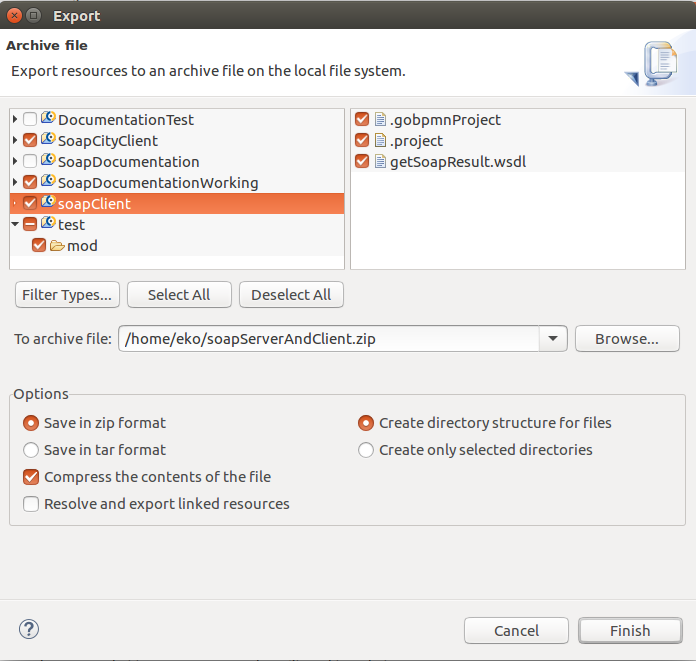
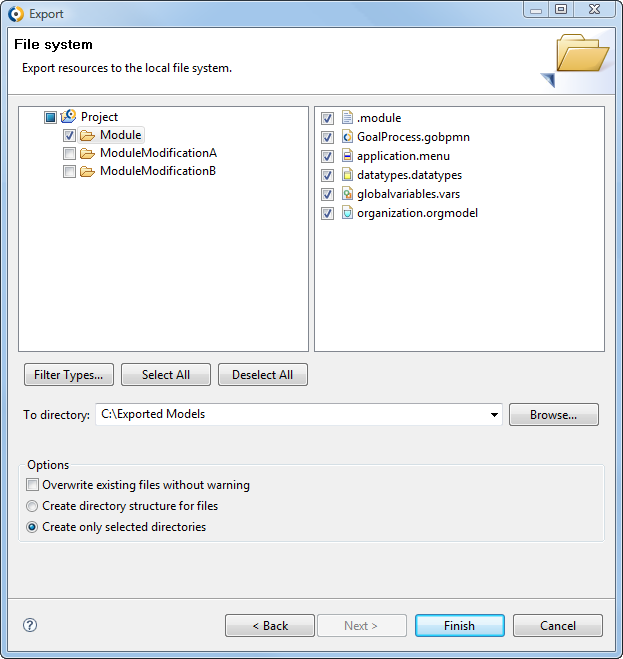
You can export a GO-BPMN module or project to archive files or file system structure, which the users can then import. Such bundles are non-deployable and serve only to exchange resource among users when a version control system cannot be used.
To export a GO-BPMN module or project to an archive file or file system:
On the File System or Archive file page in the Export dialog box, select the checkboxes of the projects and modules.
To specify the module or project content, click the module or project in the left pane; select the resources on the right.
archive name of the file, for example, archive.zip.The GO-BPMN Export feature allows you to create zip files with a Module, which can be deployed to the server: the output file contains the Module with all its dependencies.
Important: If you are exporting Models intended for execution, make sure the respective Module is flagged as executable in its Properties (in GO-BPMN Explorer, an executable Module is indicated by a red arrow).
To create a deployable zip file, do the following:
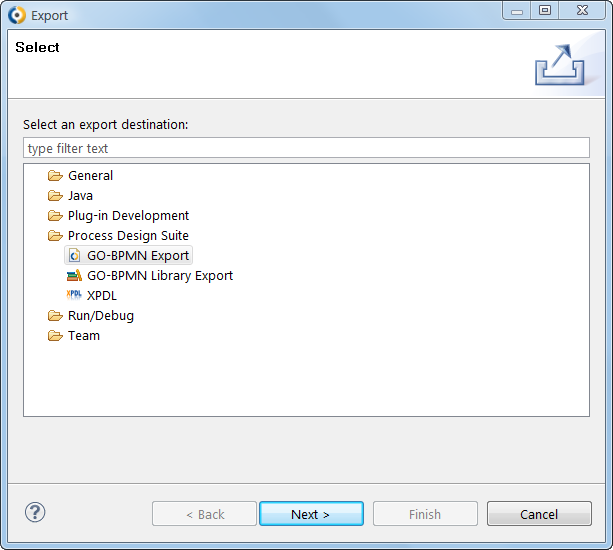
Go to File > Export.
Alternatively right-click the project or module in GO-BPMN Explorer and select Export.
In the Export dialog box, expand Designer and select GO-BPMN Export.
In the GO-BPMN Export dialog box, do the applicable:
export configurations.Modules selected in the GO-BPMN Modules area are exported along with the resources specified in the selected export configuration (resources are summed up).
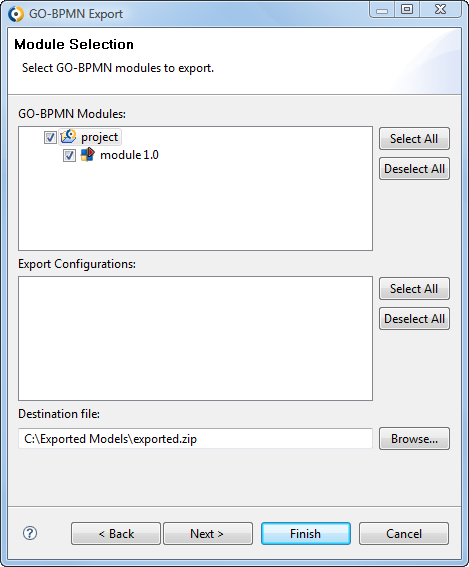
In the Destination file text box, specify the path and the name file.
Export name has to include the .zip extension.
Note: The GO-BPMN export feature drops the project structuring – only modules are preserved.
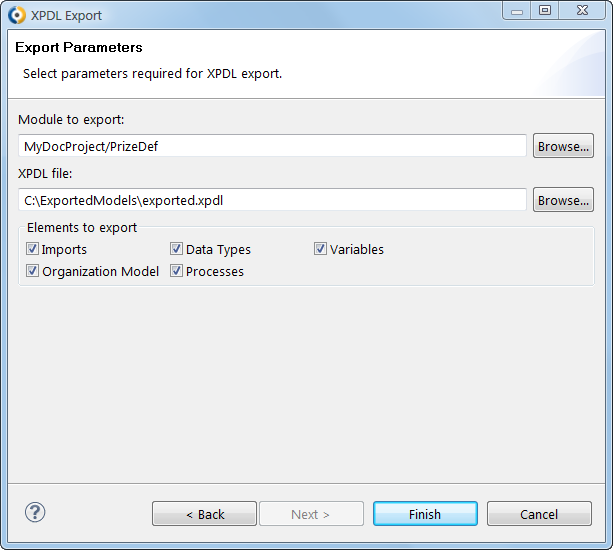
You can export your models as XPDL files with the resources supported by the format (goal-extension is not supported by XPDL).
To export your model to an XPDL file, do the following:
Go to File > Export.
To export, you can right-click the project or module in GO-BPMN Explorer and select Export.