When designing your models, you will rely on projects and modules:
Note: We often use the term model and model instance: a model is the object that is deployed to the server, more specifically to the LSPS Execution Engine, and serves as a blueprint for model instances. On design time, it is an executable modules with all its resources including any imported modules.
Model instances are runtime versions of a model. For basic information on Projects, Modules and Models, refer to the Quickstart guide.
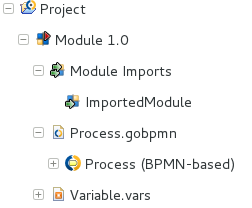
GO-BPMN projects are folders that can hold Modules (also library modules) and a few definition files which require different workspace resources, such as, export configuration(Export Configurations).
Project content does not depend on other resources and therefore it cannot access content in other projects. If you require in your project content of another project, you will need to reference it).
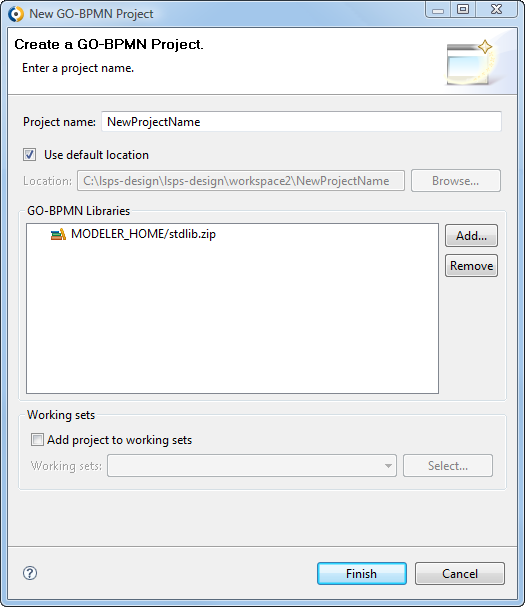
To create a GO-BPMN project, do the following:
Click File > New GO-BPMN Project.
Alternatively, open the context menu in the GO-BPMN Explorer and click New > GO-BPMN Project.
Note: The GO-BPMN Libraries box displays the libraries and their modules included in the project. The Standard Library is included by default.
Closing GO-BPMN projects makes projects and their content “invisible” for tools and that including the validation tool.
To close a project, right-click it in the GO-BPMN Explorer and select Close Project. To open a closed project proceed analogously.
Project content does not depend on other resources and therefore it cannot access content in other projects. If you require in your project content of another project, for example, you want to import its modules, into you module, you can reference it: Note that referencing will copy the resources into your Projects and the module imports will be copies of the original modules, not references.
If a project references another project, it can use its content (import its Modules). Projects may reference each other.
To reference a project:
Note: When referencing projects, make sure the modules in the project have different names.
You may import modules of the referenced projects into modules of the parent project.
GO-BPMN Modules are reusable units that hold definition and configuration files and can represent a Model. Similarly to packages in Java, they serve to organize resource files to logical bundles that can import each other.
To create a GO-BPMN module:
Go to File -> New -> GO-BPMN Module.
You may also use the context menu of the respective GO-BPMN project.
module name.Select or unselect executable module checkbox.

Click Finish.
Click Next and define module imports, libraries or modules, if required.
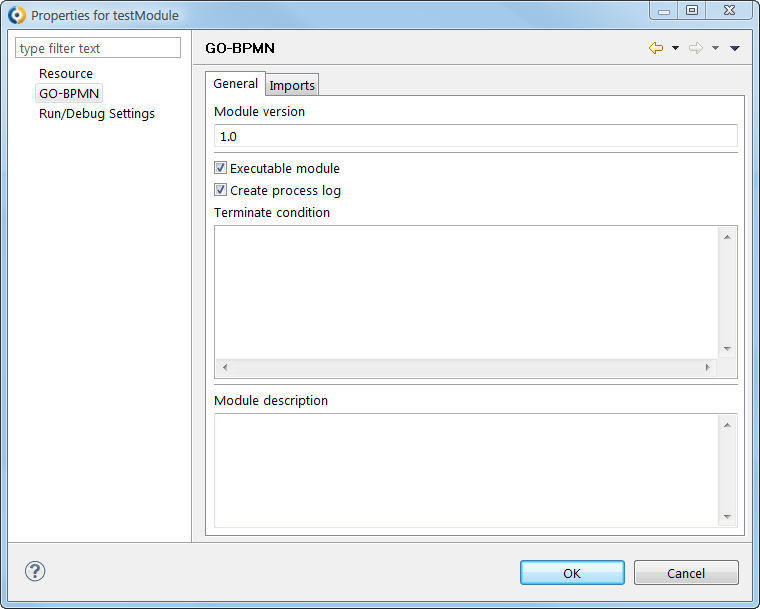
Note that the Module has its properties set to default values: its version set to 1.0 and there is no terminate condition.
To specify a module version, terminate condition, and a free-text description:
In the General tab, define the Module properties:
Executable module: if true, the Module can be instantiated as a Model
Only a module that is executable can become a model instance
Create process log: if selected, the process logs its runtime data into the database
If you disable the setting, runtime data of the Model instance will not include Module data (for example, no data on process instances nor their diagrams will be available). This setting is intended for production environments.
Note that the setting can be overridden by the CREATE_PROCESS_LOG setting in the database.
Module import allows a module to use resources of other modules.
To import a module of the same or a referenced project, do the following:
In the GO-BPMN Explorer, right-click the target module you wish and click Module Imports.
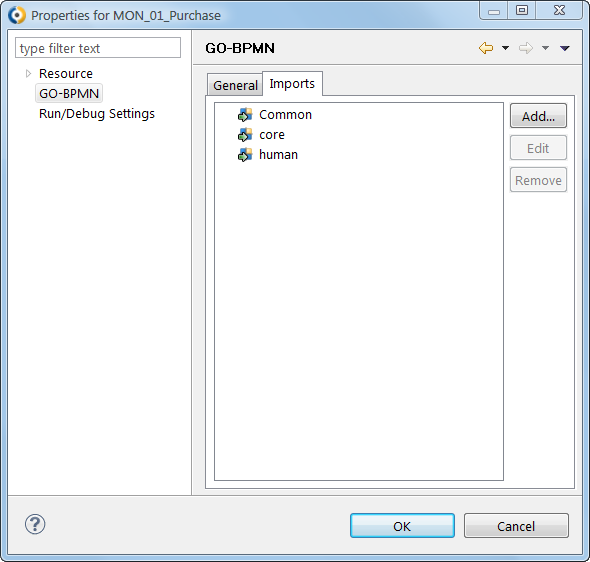
In the Add New Import dialog box, in the Select a module to import box, select the module to be imported (expand the tree if necessary).
To add several modules, double-click every module.
To remove a module import, in step 2 select the module and click Remove.
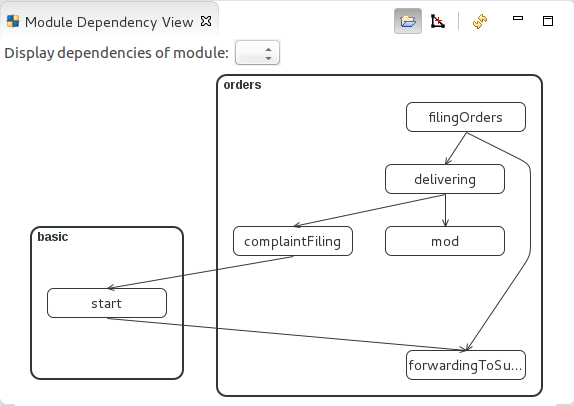
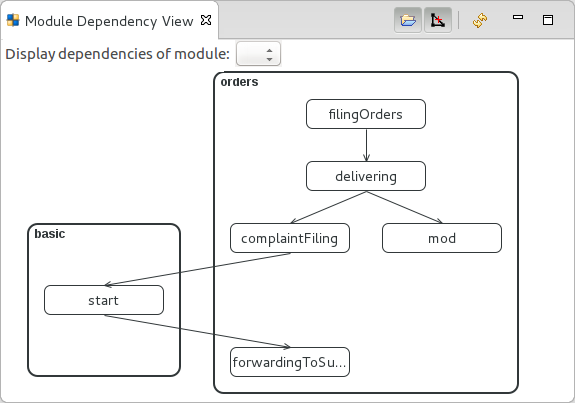
When referencing projects and importing modules, the relationships between them can become relatively complicated and difficult to follow in the GO-BPMN Explorer. To allow you to view such relationships in a comprehensive way, the modeling tool provides the Module Dependency View. The view shows a diagram of projects and modules and their relationships.
To display the view, go to Window > Show View Module Dependency View.
To simplify the module relationships depiction, hide the transitive relationships by clicking the Show Transitive Reduction  and pick the Module you are interested in in the Display dependencies of module drop-down box.
