LSPS Documentation
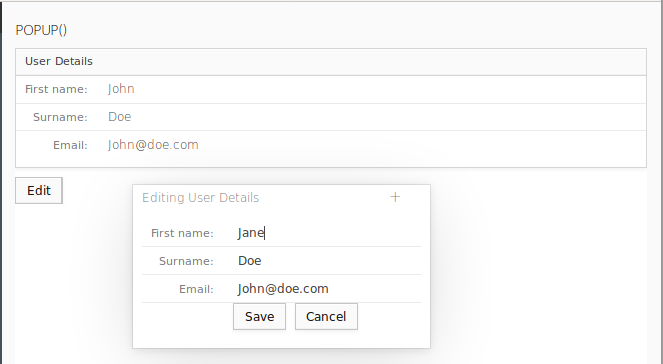
Required result: When you click a button in your form, a popup where you can edit the form data is displayed. The pop-up contains an Save and a Cancel button. When you click the Save button, the pop-up closes and the data in the form contains the new data. When you click Cancel, the data in the pop-up is discarded and the pop-up closes.
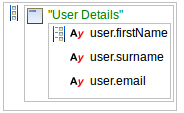
Open the form with the data you want to edit in the popup.
In the example, the data already exists and is stored in a form variable. If you want to create new data from the popup, make sure to initialize the data in the View Model we create in the next step.
Insert the View Model component into the form and define its ID.
The view model creates a new context for its child components. It holds the differences to the form context. This will allow us to discard or save the differences in a single step: we will either merge the view-model context or discard it (for more details on how it works, refer to view model).
Insert the Popup component into the View Model component.
If you plan to create a complex component tree in the popup, consider using the dynamic popup to prevent performance issues: the dynamic popup is created only when the popup is requested, while the modeled popup is created when the form is initialized, which can be time consuming.
false and set the variable as value in the Visible property of the popup.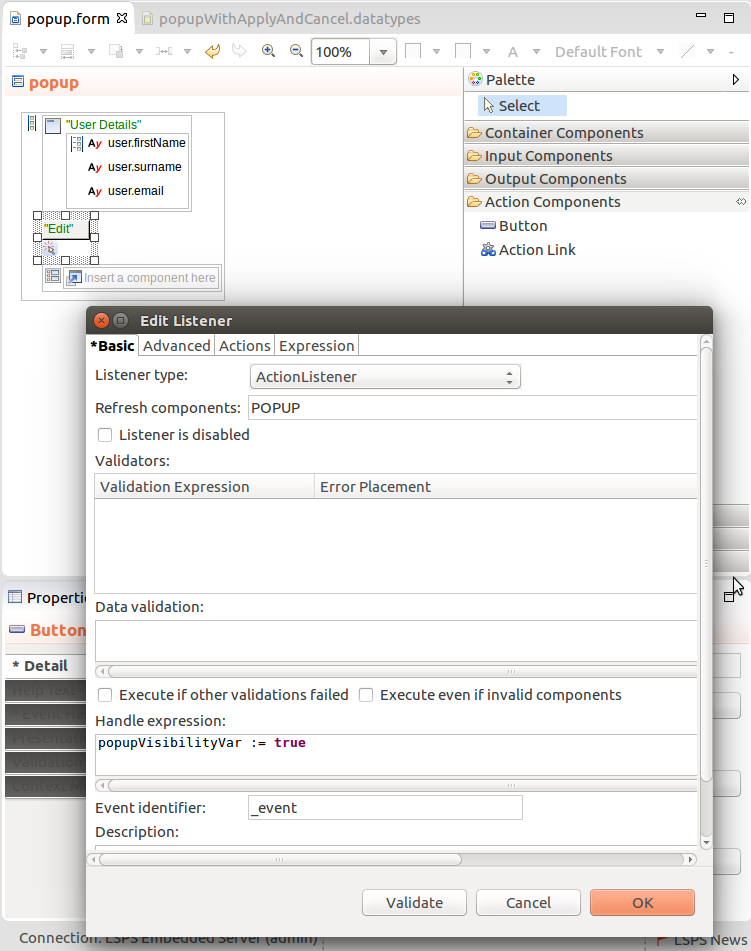
Create the popup content:
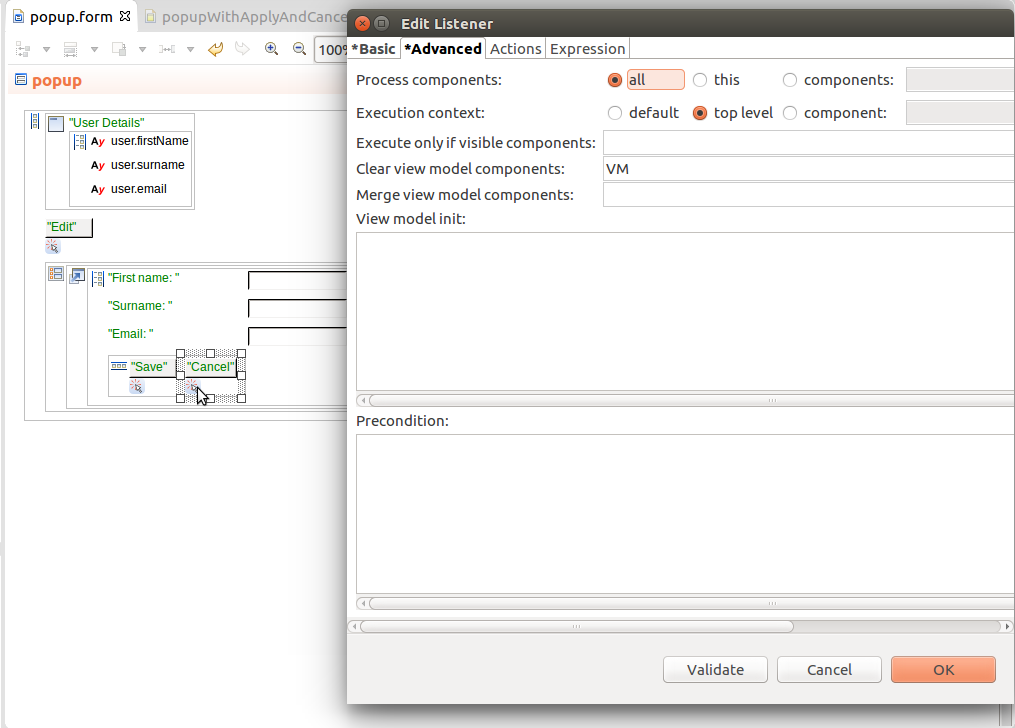
false and in the Refresh components, insert the ID of the popup component.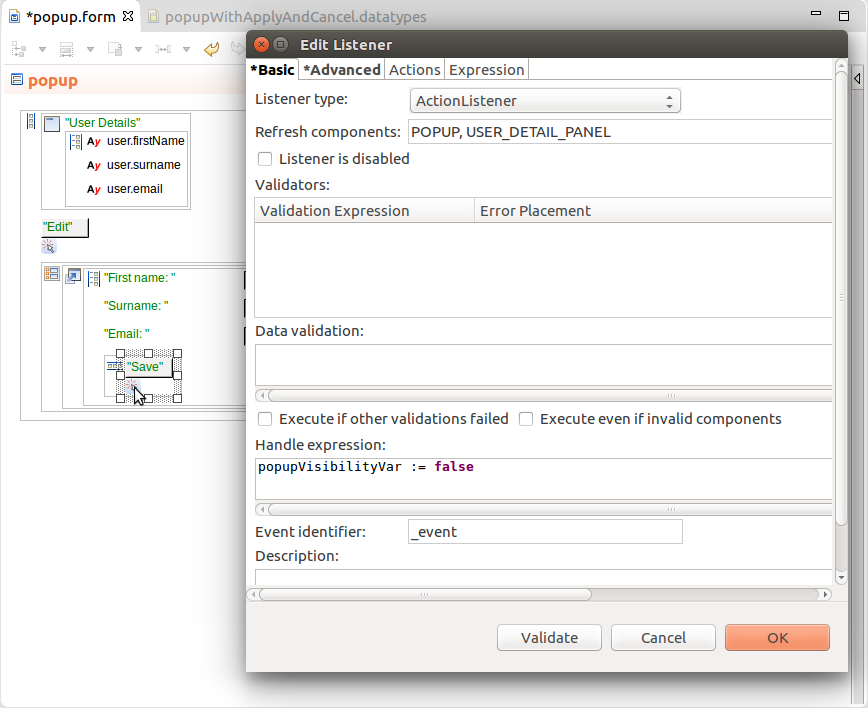
false and in the Refresh components, insert the ID of the popup component.If left set to default, the listener would execute in the execution context created by the view model. Since we are discarding the data from the view model, the visibility setting would be discarded as well and the popup would remain open.